Welcome to Mini Lessons Step By Step Part Three!
Part One: Coming to the Meeting Area and Hooking Students In
Part Two: Teaching a Targeted Skill & Modeling with Mentor Texts
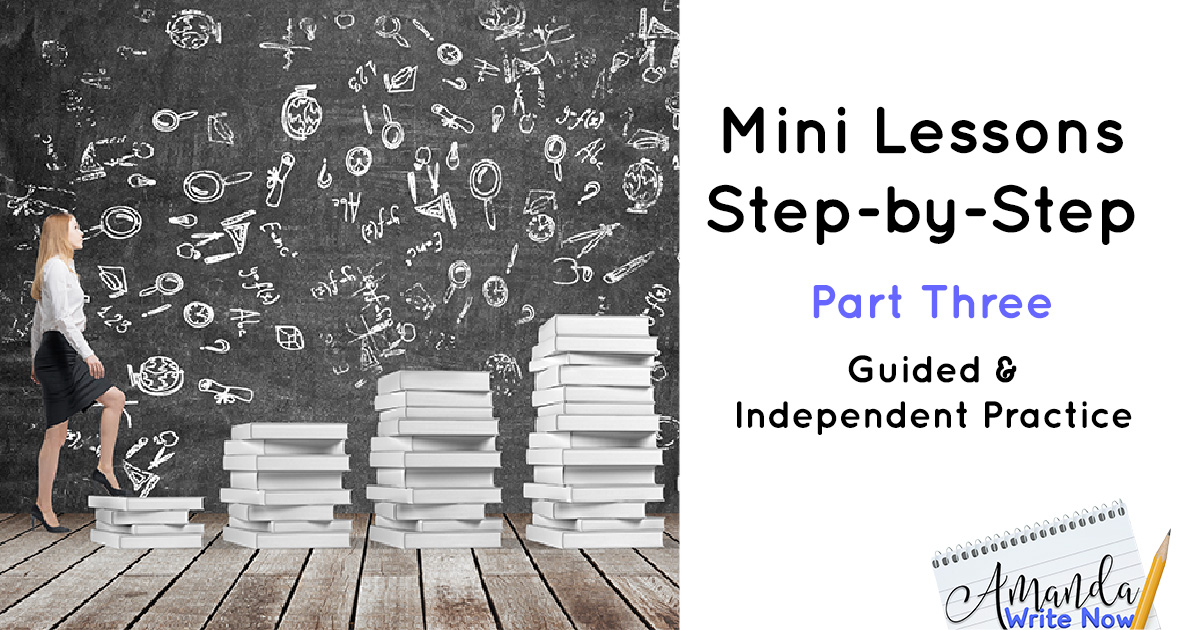
Part Three: Guided & Independent Practice
Here’s a quick overview of everything covered in this series so far…
Step One: Transition to the Meeting Area
Step Two: Connect with Students
Step Three: State the Teaching Point
Step Four: Model the Skill
Step Five: Make Time for Guided Practice
Step Six: Send Students Off to Write Independently
In Mini Lessons Step By Step Part Three read about step five and six below…
Making Time for Guided Practice
Once you have modeled the writing skill students need an opportunity to practice with support. Students should practice the skill in the meeting area so that you can wander around, observe, give feedback and then discuss the process and any difficulties faced, as a class, after practice has occurred. There are multiple ways to arrange this guided practice time…
Assigning Partners
Assigning partners requires creating a strategic seating arrangement. This can have many management benefits. For example, you can put the struggling writers up front so that you have easy access to support them during the practice time portion of the mini lesson. There are also disadvantages to assigning partners such as when a partner is absent. This requires a conversation with the whole class about what to do when this happens. I usually say something like, “Okay writers if your partner is absent it is your job to turn to a group nearby and practice with them.” Another disadvantage is when partners don’t get along as well as you hope they will. This is why it is important to change it up and use other arrangements too…
Not Assigning Partners
You don’t have to always assign partners. You could just say “turn to the people sitting around you”. This has many benefits too such as writers being exposed to different viewpoints, it takes less time than making a seating arrangement and students enjoy having choice about where they sit and who they practice with. The disadvantages: students sit next to their friends and are off task or students who choose to sit alone and not participate. Both of these disadvantages can be remedied easily by saying things like, “sit next to someone you can be responsible with or I will choose your spot for you” and “make eye contact with the people around you while practicing”. I also say things like, “If you noticed someone who wasn’t participating, turn to them and say ‘what do you think?’ “.
Working Next to Partners
It is helpful to have students start writing and practicing the skill right then and there in the meeting area and then have them discuss what they did with a partner too. This gives you the opportunity to support students and partners quickly because they are so close together and they will overhear tips!
I think the most important point to take away is to change it up! Don’t use just one method, try them all out.
Roaming While Students Practice
Look for students who are not participating in the practice activity.
Work with students you know may struggle with the skills.
Just listen to what your students have to say.
Listen for misconceptions.
Give tips.
Listen for ideas you can use when reviewing the skill after practice time.
Discussing After Guided Practice
Make sure to talk briefly about how the practice session went. Have a mini class meeting to discuss misconceptions, things you noticed students doing well and things you noticed students struggled with. Have your students tell you what went well and what was a struggle.
Giving Students a Limited Number of Choices
Before sending students off to write you need to have a plan for how to get them writing independently and what you will do with students who need support…
I always have a list of things students might choose to work on written on my board. This list can be a general one like the one below or include topics from prior mini lessons.

Exiting the Meeting Area
Sometimes I call students by name and have them quickly say what they will work on today using the list on the board. Other times I just say “get to work writers” and use social cues such as “Natalie’s pencil is already on her paper! Christopher is already reading a mentor text!” You can also call individual students over to your conferencing area and then send the rest off to write independently. Conferencing during independent writing time is definitely tricky. Check out the post below for support!
Get Writing Conferences Right!
Choosing Who You Will Conference With
There are many ways to do this. I might call off a list of four-five students to stay at the meeting area for a quick conference to get them started or to discuss a skill they need support with. Other times I say “Those of you who know what you will work on can be excused, those of you who aren’t sure what to work on can stay at the meeting area.” Then I try to support writers who stayed at the meeting area. Other times I might say, “Everyone will work independently today to build writing stamina. I will be watching you like a scientist! You might notice me taking notes, that’s so I can determine what mini-lessons to teach next!”
That’s a Wrap!
Planning and implementing writing workshop can be overwhelming. My hope is that this series has been both informative and helpful to you on your journey to implementing an effective writing workshop in your classroom. Please feel free to contact me with any questions, comments, ideas or just to chat about writing workshop. I love getting to know and learning from other writing teachers out there!
0 Comments