So what is a mini lesson anyway? To put it plainly, a mini lesson is a brief lesson modeling a targeted writing skill. In this series I’ll break it down into small, easy to chew bits. Join me for this three part series analyzing the components of an effective mini lesson.
Part One: Coming to the Meeting Area & Hooking Students In
Part Two: Teaching a Targeted Skill & Modeling with Mentor Texts
Part Three: Guided & Independent Practice
The Meeting Area
Designating a meeting area in your classroom has many benefits. Close proximity to your students gives you the ability to provide immediate feedback, redirection, access to partners and obtain quick, focused direct instruction time.
No room for a meeting area? Let students who sit close to the meeting area stay at their desks or gather chairs around.
Getting Students There
Now that you have a meeting area you must realize, no matter what you do, students are going to get to the meeting area at different times. In every classroom there are the go getters and the slow pokes. To speed things up, it helps tremendously to keep things simple…Students should know exactly what to bring and where to sit each day. My students know that when we are in a reading workshop unit they bring one notebook and when we are in a writing workshop unit they bring another. You could use a timer but sometimes that can end in chaos with students tripping over each other in a race to beat the clock. OR you could do what I do, take the stress-free route and let your students chat and leisurely get to the meeting area, use a signal when it seems everyone is ready. Of course you can support your super slow pokes with buddies, little reminders or systems of keeping track of notebooks.
Arranging Students
Students should also know where to sit each day. You can choose to assign partnerships and designated spots in the meeting area or allow students to choose their spots for the unit. There are benefits and drawbacks to both self-selected and teacher selected arrangements. The most effective seating arrangement truly is a mix of both. You have to do what works for you and your students and change it up as needed but also remember to be consistent with one method for the course of a writing unit.
Self-Selected Spots
Management: Before having students self-select spots we make a pact. They can choose where to sit in the meeting area each day, but if they don’t seem to be able to focus in their self-selected spot, I have the right to choose where they sit.
Benefits: I have found that students are more likely to discuss openly when they are sitting next to their friends or people they get along with.
Drawbacks: What about the shy students or the students that don’t seek out someone to talk with or get left out when it is time to “turn and talk”? When students are talking I always walk around and can immediately pin point these shy students and I quickly get them into a conversation by saying something like, “Cynthia you should turn and listen in on what Sam and Kristen are talking about.” or “What do you think Cynthia thinks Kristen, why don’t you turn and ask her?” These tactics always work because students know I’m always “spying” in on their conversations.
Teacher Selected Spots
Management: When I choose student spots in the meeting area I explain that their spots are carefully chosen based on many, many factors and that it is important to treat writing partners with extreme kindness and care. I also explain that these partnerships are temporary, lasting only a month, the length of a typical writing unit.
Benefits: Choosing which student will partner with which allows you to be very strategic. You can place students together based on behavior, writing ability and stamina. I do not recommend placing a very capable writer with a resistant or struggling writer. I also wouldn’t put two resistant writers together. Students should be placed together who are similarly capable, resistant and struggling. This brings me to the drawbacks…
Drawbacks: Deciding which student will be placed with which can be very difficult as outlined above! And sometimes you go through all the work to form partnerships and it does not go well. Just remember writing workshop takes time and practice.
Exciting Students
During the hook/connection you want to excite students and connect with their background knowledge, life and things they care about. I often tell stories, use humor, use short cartoon videos (created with Powtoon) to engage my students. Check out my YouTube channel to see some of the student facing videos you could use with your class too!
Hook Ideas
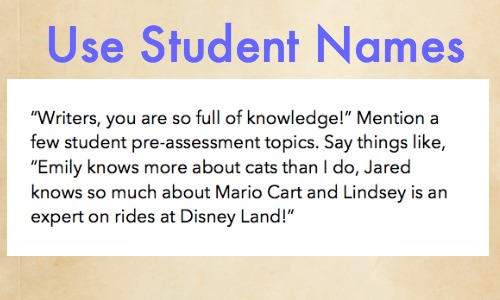
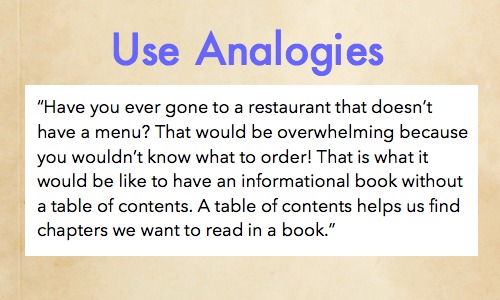
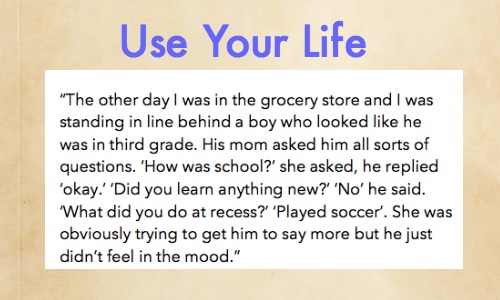
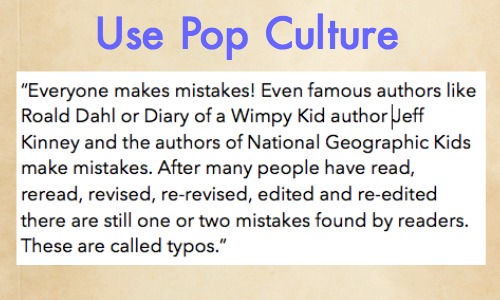
I often write down what I plan to say as a hook and after writing many, many hooks in my years as a writing teacher I’ve noticed some patterns about the type of hooks I use. Here are some examples of hooks I wrote for my Information Writing Unit…
Moving into the Lesson
In Part Two of this series, I’ll delve into the nitty gritty of teaching mini lessons. I hope Part One in this series has triggered insights into ways you can transform your writing class into an engaging place where writers grow. Feel free to share this article with others in your education sphere.
0 Comments